How to Create Eye-Catching Motion Graphics with Alight Motion?

Motion graphics are an essential part of modern video content, adding dynamism and visual interest to your projects. Alight Motion is a powerful tool that allows you to create stunning motion graphics directly from your mobile device. In this guide, we’ll walk you through the process of creating eye-catching motion graphics using Alight Motion’s robust features.
What Are Motion Graphics?
Motion graphics combine graphic design with animation to create engaging visual content. These elements can include text, shapes, images, and illustrations that are animated to convey a message or enhance a story. Motion graphics are commonly used in advertising, explainer videos, social media posts, and more.
Getting Started: Setting Up Your Project
To begin, open Alight Motion and create a new project. Choose the appropriate aspect ratio and resolution based on where your final video will be displayed (e.g., 16:9 for YouTube, 9:16 for Instagram Stories). Make sure your frame rate is set to 30 FPS or higher for smooth animations.
Working with Layers and Shapes
Alight Motion allows you to create multiple layers, which is crucial for motion graphics. Start by adding a shape layer (e.g., a circle or rectangle) as your base element. You can customize the shape’s color, size, and position using the editing tools.
Animating with Keyframes
Keyframes are the backbone of motion graphics. They allow you to animate your shapes, text, and other elements over time. To animate a shape, select it, and move the playhead to the point where you want the animation to begin. Then, set a keyframe and adjust the shape’s properties (e.g., position, scale, rotation). Move the playhead forward and set another keyframe with the desired end properties. Alight Motion will automatically create a smooth transition between the keyframes.
Using Text in Motion Graphics
Text is a vital component of motion graphics, especially for titles, captions, and callouts. Add a text layer by tapping the “+” button and selecting “Text.” Enter your desired text and customize its font, size, and color. You can animate the text using keyframes just like any other element. For example, you can create a text reveal effect by animating the position or opacity of the text layer.
Adding Visual Effects
Alight Motion offers a variety of effects that can enhance your motion graphics. For instance, you can apply a “Glow” effect to make your text stand out or use a “Blur” effect to create depth and focus. Experiment with different effects to find the ones that best complement your design.
Using Easing for Natural Movement
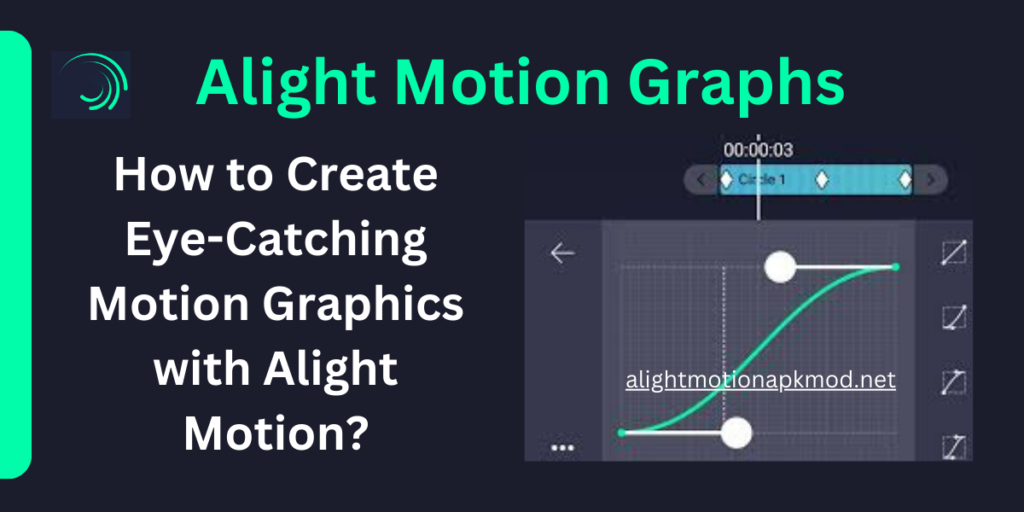
Easing is a technique that makes animations feel more natural by adjusting the speed of motion. In Alight Motion, you can apply easing to your keyframes by selecting the “Easing” option. Choose from presets like “Ease In,” “Ease Out,” or “Ease In and Out” to smoothen the transition between keyframes. This small adjustment can make a big difference in the quality of your motion graphics.
Exporting Your Motion Graphics
Once you’re satisfied with your motion graphics, it’s time to export the project. Tap the “Export” button in the top-right corner of the screen and select your preferred format (e.g., MP4, GIF). Make sure to choose high-quality settings to preserve the sharpness and clarity of your graphics.
Conclusion
Creating eye-catching motion graphics with Alight Motion is both fun and rewarding. With its intuitive interface and powerful features, you can bring your creative ideas to life without needing a desktop computer. Whether you’re a beginner or an experienced designer, Alight Motion provides all the tools you need to create professional-grade motion graphics on the go.
